The alternator replacement is crucial. The alternator commonly called the generator of the car, is a power-generating device in your car. It converts the motion energy of the engine into chemical energy. This chemical energy keeps your lights bright and other electronic accessories (i.e., wipers, radio, music speakers, etc.) functioning.
It is attached to the engine via a belt. A car’s alternator always plays a crucial role in making you move. The mechanics guide always with you:
Signs of a Failing Alternator
There are common signs that indicate a failing alternator. You must pay close attention to them. Let’s look at them:
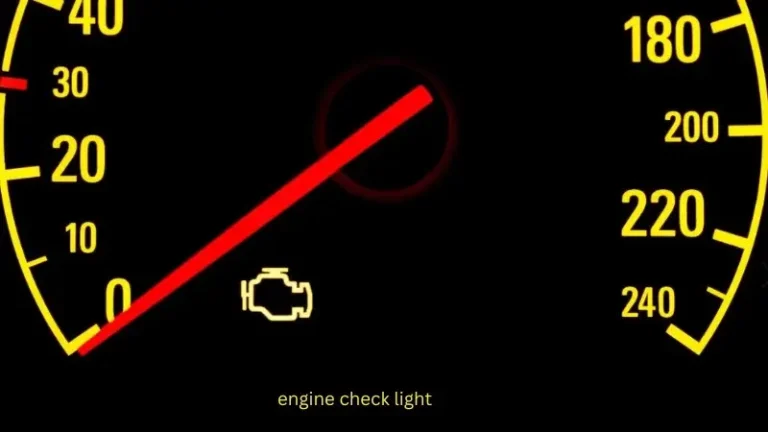
- The charging failure light will come on the dashboard, saying there’s a failure in the car’s charging system.
Note: This can also be due to a bad battery or a blown fuse. - A weak alternator will reduce the flow of current to the battery.
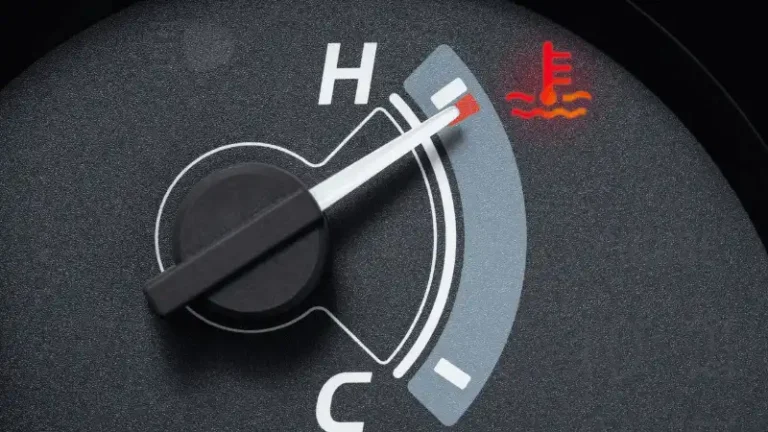
This will ultimately result in flickering or dim lights in the car. The lights may dim, especially when you turn on the AC or other powerful accessories like the wipers. - If the engine gets ignition slowly or cranks, it is also an indication of a weak alternator.
- Sometimes, a burning smell may come from the alternator.
- This suggests that a wire inside the alternator might be burning. Take a close look or seek mechanical help immediately.
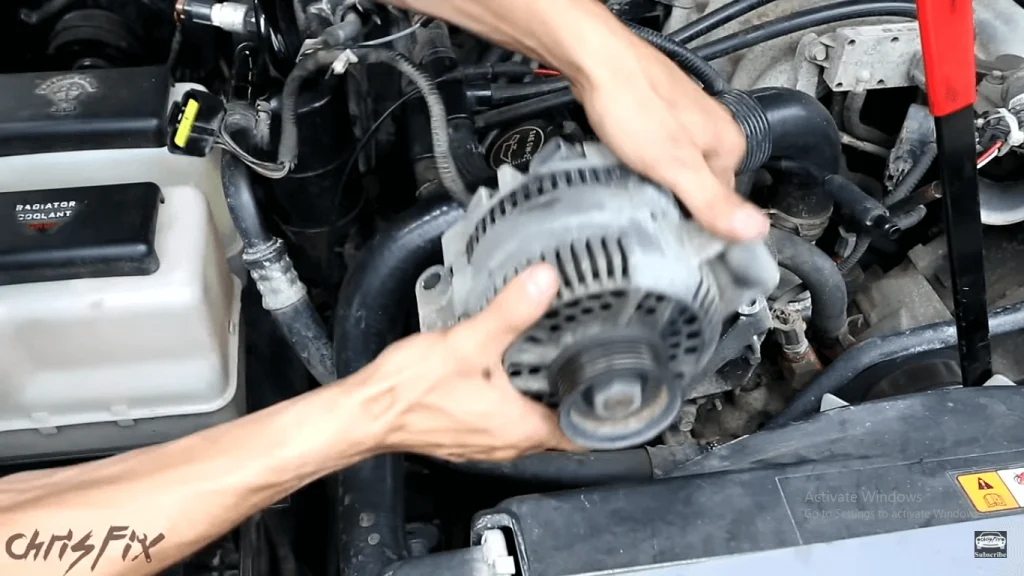
Step-by-Step Alternator Replacement
After reaching the conclusion, you find the issue is with the alternator, and you have to change it with a new one. Replacing it is never a hard task—just follow these simple steps:
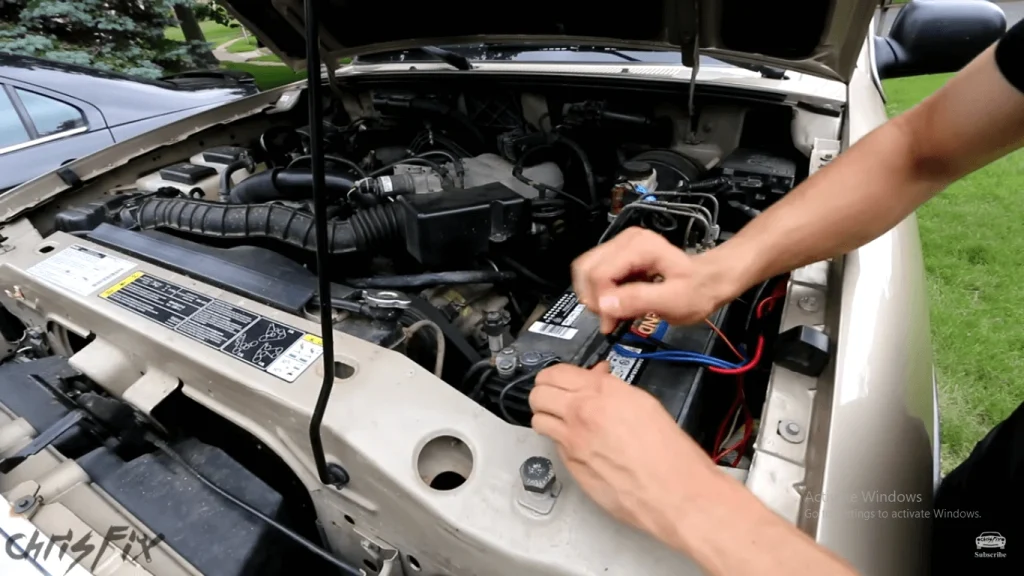
- First of all, park your car. Then disconnect the negative terminal of the battery in your car.
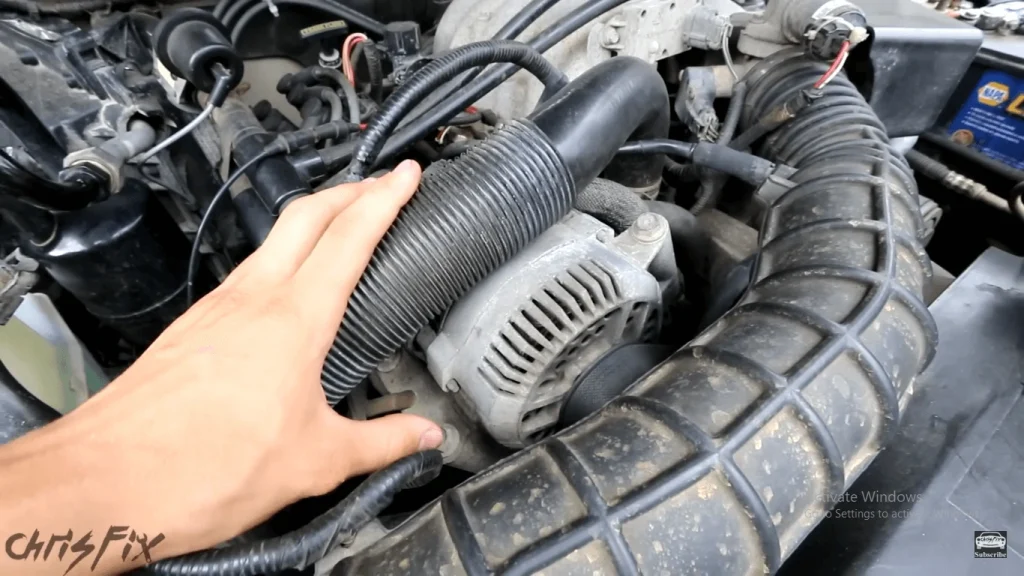
- Locate the alternator. It will be nearby the engine. It is attached to the engine with a belt.
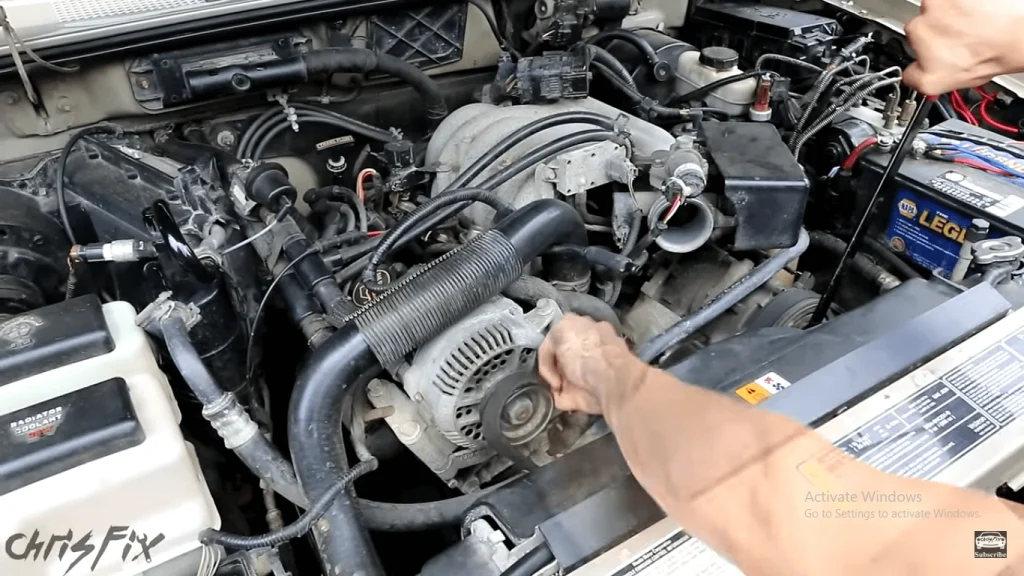
- Look at the belt tensioner. Use a belt tool to loosen the tension on the serpentine belt. Slip the belt and remove it from the alternator pulley.
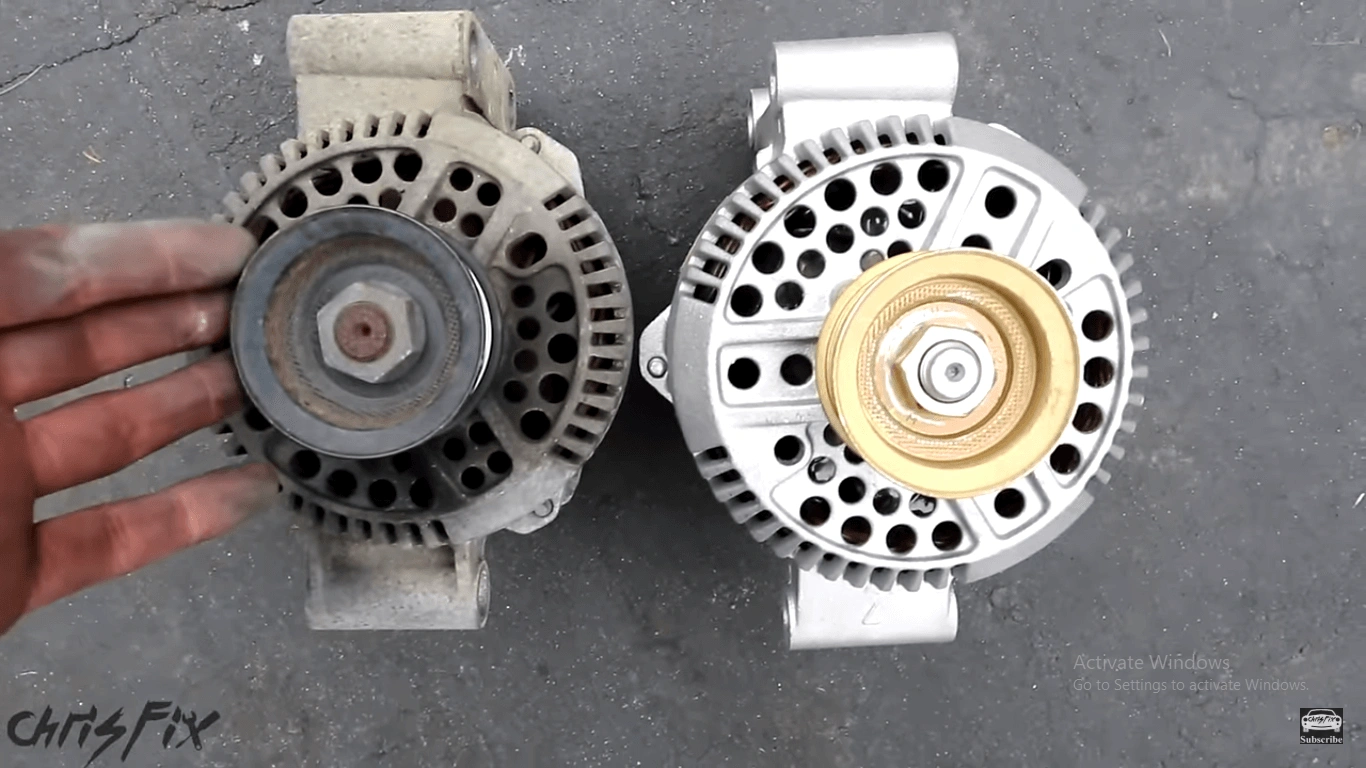
- Now use the appropriate wrench and socket to remove the bolts from the alternator. After removing the bolts, you may need a little jolt to pull it off from the engine bay.
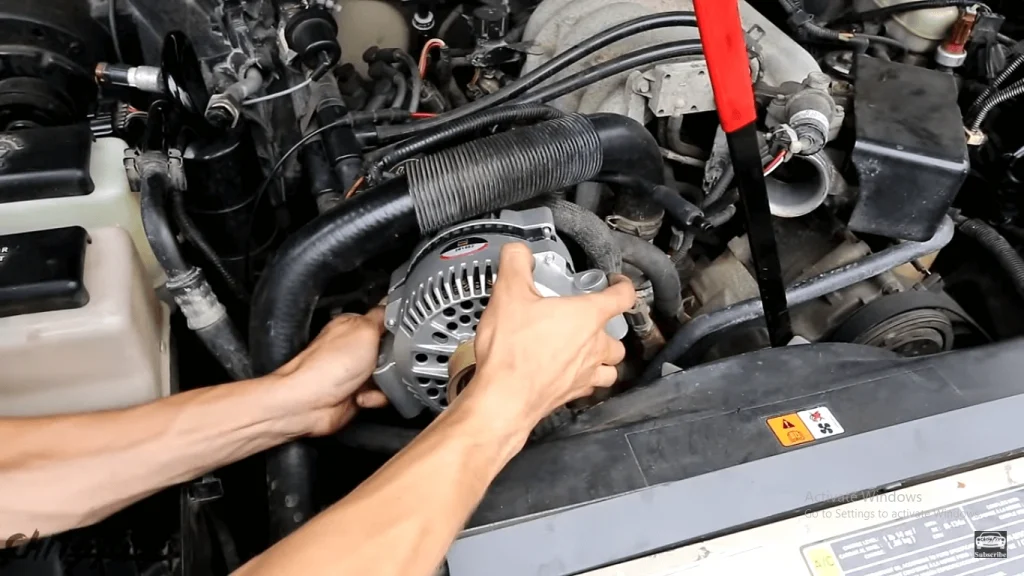
- Now install a new alternator in the bracket. Tighten the bolts, but don’t overtighten them. Make sure all the bolts are attached appropriately.
- Now install the belt on the pulley using the tensioner tool. The belt should be fixed properly and should not be loose.
- Now start the engine and check if any light still appears on the dashboard. If not, you have successfully installed your alternator in the car without any worry.
Tools you may Need
You will need certain tools to perform this. As it is a sensitive issue, you must have recommended tools for the action to perform:
- Replacement alternator
- Drive belt
- Sockets, wrenches, ratchets (note: size may vary)
- Square tensioner tool
Best Practices After Replacement
After installing, do these practices to ensure that you have done a good job:
- Make sure that all the accessories of the car are functioning efficiently, like the AC, wipers, and lights.
- After a short drive, open the hood and look at the belt and bolts. Check whether all the components are attached well and working. Also, see if there is any burning smell.
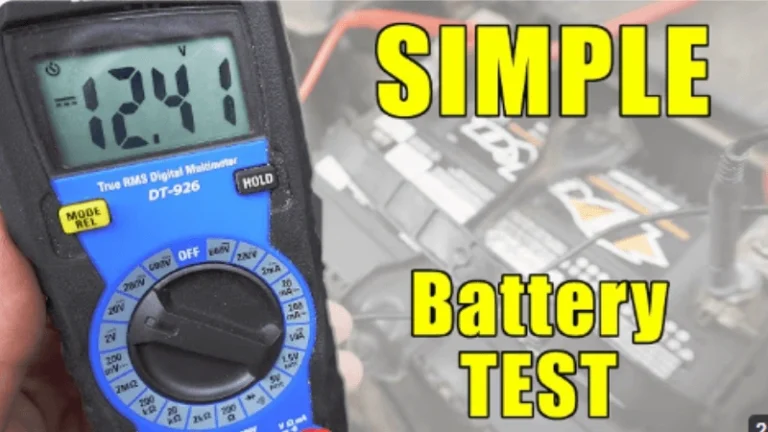
- Check whether your battery is fully charged or not. A bad or weak battery can damage your new alternator, so look out for that.